Fire Pit Build Part 1
Getting the most out of a TIG Torch Switch using 2t and 4t functions
The pieces for this fire pit welding project were cut for me on a CNC plasma table by my good friend Matt Hayden - Welding Instructor at Polk County College And Career Academy.
Since this fire pit welding project is intended more for an educational welding video than a project, I decided to use both MIG and TIG welding to make it more educational and entertaining.
So I used the PrimeWeld TIG225 to tack weld and to also weld some outside corners and then for part 2, I will switch over to mig welding.
TIG welding goes a lot better with clean metal so the first step was to clean the plasma dross.
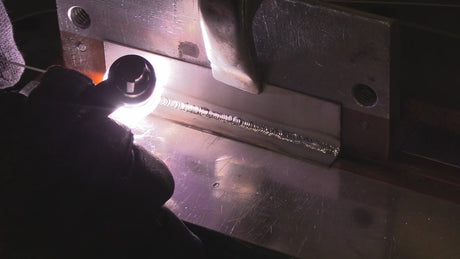
After cleaning the plasma cut edges with a flap disc, I decided to make all the tack welds using a tig torch with an on/off torch switch so that the tack welds would be small enough to weld over without any humps or bumps.
With the start amps, upslope, downslope, and end amps all set to zero and the 2t 4t switch set to 2t, the torch switch is an on/off switch that comes in handy for when you need lots of small tig tacks or when you are moving around a large project tack welding.
There are lots of fabrication tools from fireball tool, magswitch and other companies that could be used to make the fit up easier on a tapered corner project like this fire pit but I found that using a single Jumbo MagTab from stronghand tools to make the job quick and easy to align and tack weld.

Once all the corner joints were tacked using ER70S-2 1/16” rod, it was time to switch over to 4t mode.
With 4t mode, I set start amps to zero, upslope to 2 seconds, downslope to 3 seconds,
Amperage was set to 105 for the 11ga .120” thickness carbon steel corner joints.
I knew exactly what amperage setting would work because all I had to do was refer back to a previous video I made tig welding 11ga outside corner joints
I used a ceramic jazzy 10 cup set at 25CFH flow rate along with ER70S-2 filler rod.