Try this Tip for tig welding thin aluminum tubing butt welds.
Here is the Link for WELDERSKILLS and make sure to enter JODY1 to get your first month at WELDERSKILLS for ONLY 1 dollar. https://welderskills.com/orders/customer_info?o=124400&d=JODY1
Aluminum is very thermally conductive and heat dissipates away from the weld rapidly…but only if there is somewhere for it to go.
In this video, i welded a short piece of aluminum tubing to the end of a longer piece,
When you do that, heat will conduct away toward the longer piece but build up in the short piece….to a point where it gets saturated with heat.
That is where TIG welding aluminum can get out of control.
The wall thickness on this tubing is .070” and so but this tip works even better on thinner tubing,
Normally, without a chill block fixture or something to pull heat out, I would start off welding at say 80 amps and adjust amperage with a foot pedal.
What would normally happen would be before I made it all the way around the tube ...is that I would need to reduce amperage all the way down to around 20 amps.
The aluminum gets so saturated with heat that the puddle gets very watery and at low amps, the arc won’t have enough punch to penetrate. So I would need to stop halfway and let cool .
Stopping and starting on a full penetration aluminum joint is something we would like to avoid.
Pulse settings definitely help but pulse is not enough of a difference maker. Things will still heat up too much.
I needed something to pull heat out.
If I had a hundred of these parts to weld, it might be worthwhile to make a chill block or a split plug for the short piece to draw heat .
But for a one off part , that is not always practical.
So I showed a quick tip that will pull quite a bit of heat away that only takes a few minutes .
I used an old piece of welding lead and stripped off the insulation and wrapped it around the tubing good and tight for a make shift chill block.
I set the welder to 100 amps because when pulse is used, more amperage is needed on the main amp setting.
I was full pedal at first but then I used the foot pedal to reduce amperage as the part heated up.
Pulse settings were:
2 pulses per second
45% base current
50% pulse duty
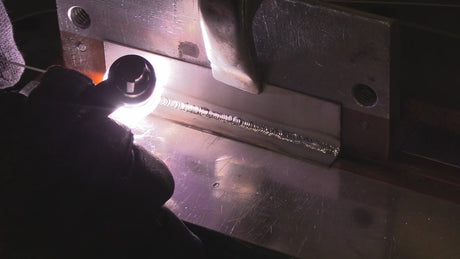
I was able to control the bead from start to finish without the puddle getting out of hand and the finished weld had full even penetration on the inside.
Braided copper strands from old welding leads can also come in handy to get a ground on round parts where a ground clamp won’t fit.
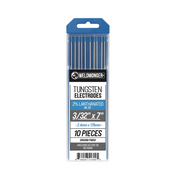
I used the PrimeWeld TIG325X in this video along with a #7 clear pro cup and 3/32" 2% lanthanated tungsten.


2 comments
Can you use ac and dc for tig welding and if not why?thank you Bruce
I’m getting on in age now but I still love watching your videos. You get right to the point and I hope younger folks are taking advantage of opportunities afforded to them by people such as yourself. I thank you for the entertainment and knowledge.