Feeding TIG Rod
weldmonger® stubby tig gloves white or black
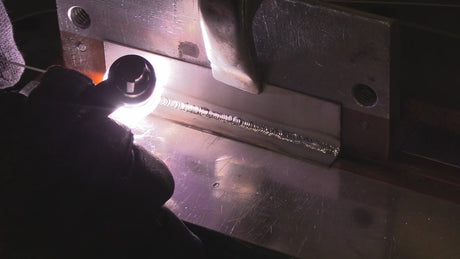
The video on this page is about feeding the tig rod and some tips for getting that filler rod hand up to speed.
When you are first learning to TIG weld, one of the hardest parts is feeding the filler rod.
I supposed its because we have all been writing with our dominant hand since kindergarten but we did not get that early training with our non dominant hand.
One of the things that really helped me get better at feeding tig rod was tig welding aluminum parts on a positioner.
In the mid 1990’s I had been TIG welding for nearly 20 years and I thought I was pretty good at feeding filler rod.
But I got a part time moonlighting job TIG welding some aluminum parts on a positioner. 
The parts were concrete cutting saws and it was important to make them look good but at the same time get them done quickly.
So I pushed the envelope on travel speed by using an argon/helium mix on an all fab corp positioner and welded them as fast as I could while still maintaining a good stack of dimes bead.
When I would go back to welding a normal job at normal speed, I noticed my filler rod hand was way better at feeding tig rod.
There is nothing like a real life production job to improve your wire feeding technique. But you can do it yourself on a piece of scrap too.
That is why I encourage anyone wanting to get better at feeding rod to pad beads on aluminum and do something I call the “aluminum drill skill exercise”.
I know not everyone has a turntable or positioner but anyone can pad beads on a piece of aluminum.

I recommend getting a piece of .090” to 1/8 thick aluminum and some 3/32” filler rod of 4043 or 5356 filler rod.
This is also a good opportunity to experiment with ac frequency settings, AC balance settings, and cup sizes.
I set AC frequency to 100-120hz for this video because that is a good all around settiing, but lower frequency settings of 60hz work well for certain situations as do higher settings of 200hz.
I tend to set AC balance to 30-33% cleaning. I could have used a bit more cleaning for the welding I did in this video.
Argon flow depends mainly on cup size and I set it to 20cfh for the #7 clear cup.
Here are a few of the welding accessories used in the video
Lucky 7 combo kit with both ceramic and clear cups along with furick adapter kit that lets you use furick cups like the fupa 12 and others too.

Weldmonger Shirts