Having trouble with vertical uphill mig welding?
This video is for you.
If you apply the settings and techniques shown here, you will be will on your way to making uphill mig welds that are not only strong, but look good.
Downhill mig is easier than uphill.
But downhill is not always the best way to mig (unless you are doing spray at much hotter settings and with different shielding gas.)
For 1/8" wall and thinner square tubing or angle iron, downhill short circuit mig works fine and is usually the preferred method.
However, for 3/16" and thicker, uphill penetrates a lot better than downhill.... but the problem is gravity wants to pull your weld down and make it hump.
Thats were settings and technique come into play.
There are just a few things to pay attention to to improve your uphill mig welds.
First of all, you just can’t run as hot as you can with flat.
Going uphill goes a lot better with lower settings.
Second, a short stickout of 1/2" or less helps a lot.
Here is what I do.
I use the mig chart on the machine….but I select one or sometimes even 2 thickness lower than what I am welding…and then I also reduce wire speed by about 10-15 %.
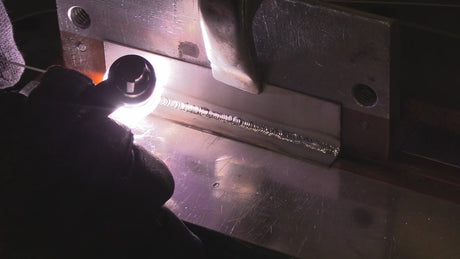
Example: this weld was on 3/16” thick steel but I used the settings for 1/8” thickness which were 18 volts and 236 wfs for 1/8” thick metal.
and I also dropped wire feed speed by 36 to 200 (15%)
Then I make sure my contact tip is flush with the nozzle or even protruding a bit.
Some mig guns are set up with the tip recessed back in the nozzle 1/4" and that makes the stickout way too long for short circuit mig.
I try to maintain a stickout of 3/8"
Right settings, short stickout, good technique that traces the front of puddle...
Works for me practically every time.


1 comment
Jody,
Thank you so much for repeating this video from reading the comments from the 30 days videos – much appreciated
Greetings again from Belgium